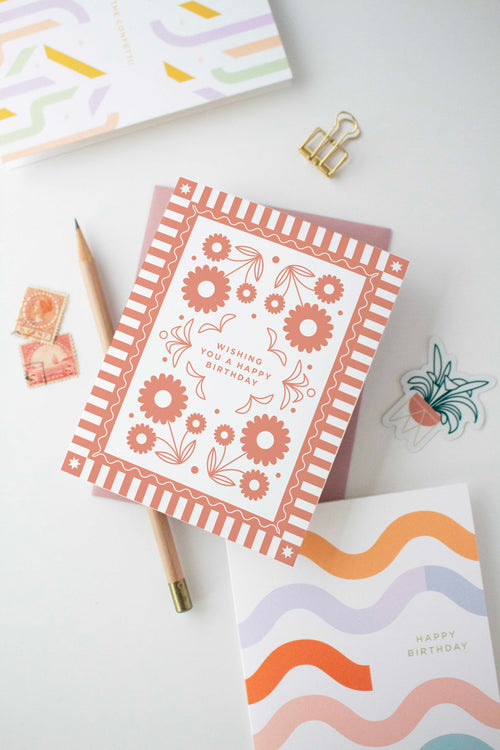
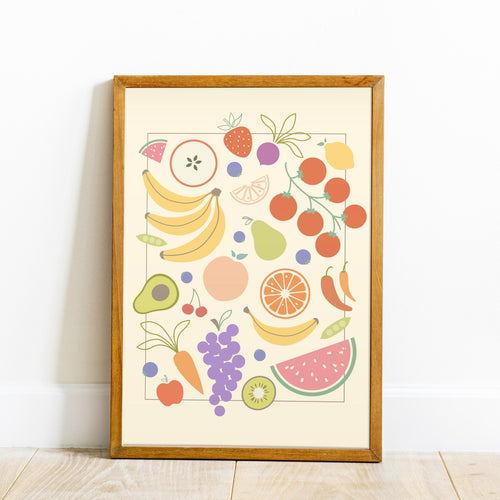
Every market I go to my A-frames are a must have.
They were the first thing I built for markets and have been a staple ever since. They’re slim, easy to transport, and easy to store. When I was first starting out finding affordable display options, specifically for cards or prints, was hard to come by so here is how I made mine. And best of all there’s no nails, screws, or anything like that needed to make them – just glue!
Supplies and instructions are for 1 A-frame.
Supplies:
- Two 2’x2’ project boards (got mine from Home Depot)
- Fabric (I used duck canvas that matched by brand colors but really most anything would work)
- Three 2’ pieces of moulding (this is what I used)
- Wood Glue (I used Elmer’s)
- Clamps (or any heavy item if you don’t have clamps)
- Ruler
- Pencil
Instructions:
1. Create two fabric ‘hinges.’ Cut two 3” long by 4” wide pieces (or any size that you prefer). Fold them in half to find the center and affix one half to each board one side at a time. Use your clamps, or a heavy item like a book, to weigh them down. Wait about 10 minutes for them to dry. **Don’t sandwich them together to dry!** Depending on how much glue you used, it might have soaked through and they’ll get stuck together.
2. Measure where you want your moulding ‘shelves.’ My cards are all A2 size so I spread my three ‘shelves’ out so that they a) could accommodate three rows and b) were evenly spaced. Measure where you want them and mark along the board with a pencil. You can draw a full line or little dashes along the board. I went with dashes just in case the moulding didn’t end up perfectly on top of it when I glued it.

3. Attach the moulding. Once you have those places marked, one by one attach your moulding. Same as the hinges, glue, place, clamp, then wait about 10 minutes.

4. Repeat step four for the remaining ‘shelves.’

5. Cut 2 braces. You want an internal piece so your frames don’t slide open flat on you. I cut mine the same width as my hinges (3”) and about 18” long. I liked the angle the boards sat when they had about 18” of space in between. (It's hard to see but you can see a bit of one strip in this photo)

5. Just like the ‘hinges’ glue your fabric braces one side at a time. Remember not to sandwich the boards together to dry!
That’s it! They’re super simple and basic. There’s lots of ways you could stylize them – you could paint them, use a patterned fabric, maybe add your logo at the top, lots to play with.

If you do make an A-frame I would love to see it! Take a picture, post it, and tag us, @lineandkind. It would be wonderful to see them in action.
If you need a little inspo head to IG and you’ll see ours in the Markets highlight on our profile - @lineandkind.
Hope you enjoyed this! ~Katie


0 comments